Friday, May 15, 2015

Harvest party

We hosted our first harvest party last year, and had so much fun.
There is nothing I love more than decorating, baking, and hosting parties, bring all of these together and it's right up my alley.


A few photos from the decorating.
We found some beautiful mums that made the porch look a little more festive, I placed a table outside for the s'more supplies and some candy.

The fire pit all set up and ready to go, 
The "game table" with coloring supplies as well, 
And setting up the kitchen island and dinning table.

I had so much fun finding ideas on hosting a fall party and the popcorn bat was among the favorites so I had to add it! I found a lot of the buckets, bags, and chalkboard labels in the dollar section from target (bargain score!), added a few different options to add to your popcorn and of course in the back right, caramel popcorn I will find that recipe and post!

These little witch hat cookies were so fun to make I alternated between thin mints and fudge stripes.
 
I found these cute little bags at target for the s'more bags, I thought that would make it so much easier for the guest than having to find all of the supplies in the dark for the s'mores, this made it so they could grab a bag and a fork (which was on the table outside with the baggies) and head to the fire!

The drink bar was a fun project as well, we offered coffee, water and the hot cocoa supplies, and the pitcher of hot apple cider (I will find the recipe and post).

The soup display was a little boring, you can't do much with crocpots😊 but I did love the little chalkboard clips I found to label which kinds we had.

And of course sugar cookies...my absolute favorite to make for every holiday, I've got a ton of cookie cutters and sprinkles for every occasion And I loved the mini cutters I found for these.

Leave some of your favorite fall decorating or baking ideas in the comments!


Wednesday, May 13, 2015

At Home Store

Don't mind the delicious chocolate in the cart, seriously who can pass that up.

Des Moines recently got an At Home Store and let me tell you it is AMAZING,
If you've never been you're seriously missing out and need to find the nearest one.

I have frequented the store at least once a week since they opened, I seriously can't get enough I still have yet to make it through every little isle as the dog is usually waiting in the car for me ;), so I have to hit a difference section ever time I go.
 I've found that there prices are very reasonable compared to home goods, target, ect and I think it's just fun having somewhere new to shop, who doesn't love that.

I picked up the lampshades for that project and a few other necessities for the new house, it's taken much self control to not go crazy every time I go in but I'm getting lots of decorating ideas and finding out what I can't wait to go back for.

Sound off about your favorite purchases from here in the comments, I would love to get your feedback!

Lamp DIY


wiped down both lamps with a dusting cloth, tapes off the cords and top part and painted away.

I did 3 coats on each lamp letting them dry completely between each coat, the 3rd coat was really just to touch up if there were any thin spots I didn't end up paint the entire lamp 

The large lamp I got at the habitat for humanity restore for $5!
The shade came from the At Home store for $25 and I got the can of spray paint for about $5 from the local hardware store.

The skinnier lamp lamp was given to me for free from my grandma,
The shade cost $8, 
And I used about half a can of the same spray paint as the large one.

The lady that helped me pick the paint at the hardware store told me it would help to scuff the lamps with a little sand paper before painting but let's be honest, I was a little lazy and didn't feel like doing that...so I skipped that step and they turned out fine! 
I suppose I will probably add a clear coat to them as well but haven't gotten that stepped finished, we'll see if it does!


Prom Hair


I've had the honor of doing miss Brianna's hair 2 years in a row now. 
 she is the little sister of my best friend Mikala whom I also did her 2 years of prom!
Our mothers have been friends since before Mikala was born so of course we would be best friends.  It's been such a fun tradition that I get to carry on 2 more years for Brianna. 
We make a day out of it and my mom and I go to there house and all spend time together as Brianna gets ready! 

It's so fun seeing what style of dress she goes with and what hair style I get to do.

I can't wait to see what's next!
What are some trends you've been seeing with prom this year? 

Tuesday, June 10, 2014

Maxine's Tater tot Casserole

Growing up, our church put out a cookbook every couple years.
Maxine, an elderly lady in the church made some AMAZING dishes, One that was most common and loved at all the potlucks was "Maxine's Noodles". 

But today I am going to give you this yummy Tater tot Casserole recipe, I'll have to dig up the noodle recipe and post that as well!


                                                      Brown the hamburger

                                   All of the ingredient's you will need aside from hamburger

                                                                   Boil the noodles

                                                     Place hamburger in bottom of pan

                                                                   Cover with noodles

                                                                   Sprinkle with Cheese

                                                                     Cover with tater tots

                                                        Pour soup & water mixture over

   And...of course I was so hungry by the time I got done I forget to get a picture of it finished in the pan....


Ingredients:
1 lb hamburger (I think I'm going to use 2 lbs next time) 
(I also added onion powder, garlic powder, salt, pepper, dill and Lawry season salt to the hamburger)
1 box of fettuccine noodles
4-6 oz of shredded cheese (any kind will do, I used colby jack)
1/2 a large bag of tater tots
3 cans cream of chicken soup + 3 cans water

Directions:
Brown hamburger and place in the bottom of a 9x13 pan
Boil noodles as directed on the box (I drained slightly before finished)Cover hamburger with noodles
Sprinkle with cheese
Cover with tater tots
Pour soup and water over everything
Bake at 350 for 45 minutes or so
And that's it! super easy and yummy recipe

Now because it's just my husband and I, a 9x13 pan is WAY to much, so I split everything and froze the other pan, I would recommend thawing out in the fridge overnight and cooking at the same temperature and time

Wednesday, June 4, 2014

Stylebook


Ok…so I have a serious obsession with organization, I love everything about it and the way I feel when everything has a perfect spot!
Well I read about this amazing app in a magazine and decided I had to try it out.

It’s called Stylebook and cost $3-$5 I do believe, I know most people hate paying for apps but after reading the reviews I decided it was definitely worth it!

After downloading the app I went to exploring, you can upload pictures of your clothes, organize them in your “closet” under categories such as tops, bottoms, shoes, dresses, ect.

Then, you can create “looks” by putting a top, bottom, and shoes together.

And then…you can put them into our “calendar”! seriously most amazing thing EVER

I plan out my months worth of outfits, when I wake up check the calendar to see what I’m wearing that day, grab the outfit and I’m good to go! No more deciding what I’m going to have to wear that day and trying on multiple outfits.

Toolbox Redo

      
Toolbox Redo:
I picked both of these toolboxes up from a local swap shop on Facebook for $8! Major score in my book ;).
I’m going to start with what I did on the left and move into the right one.
For the left tool box it was in pretty good condition and I wanted to keep it as authentic as possible so I took a blue scrubbing pad like what you use for washing dishes, I scrubbed the whole thing to get all of the dirt and grime off and used 2 coats of a spray clear coat, BAM done! That was all I had to do! Quick and easy and so cute!
The box on the right was not in the greatest shape so I took both of the long ends off and replaced them with new boards, so clearly I couldn’t leave it originalL, I started out by using fine grit sand paper with a hand sander and went over the whole thing to smooth it out so it matched the new boards.  then  using a can of spray paint in the same color s as what’s on it now I put on a few coats but the wood was so absorbent it kept soaking it up, so I switched to a can of paint and brushed it on, worked like a charm! After putting two coats of paint I clear coated it and was done!

I was horrible and did not take any pictures of the process…I’m going to have to work on that! I matched up the new board for the right one and cut it down to size and nailed it into the ends.
For any question’s or input feel free to leave a comment!
Thanks
Chloe


A belated Christmas post...better late than never:)

                                                                 Grandma's tree
                                                                      Our tree
                                                                   Grandma's dog
                                                                 Other Grandma's tree
                                                                         My Baby


                                                                  My parents dog

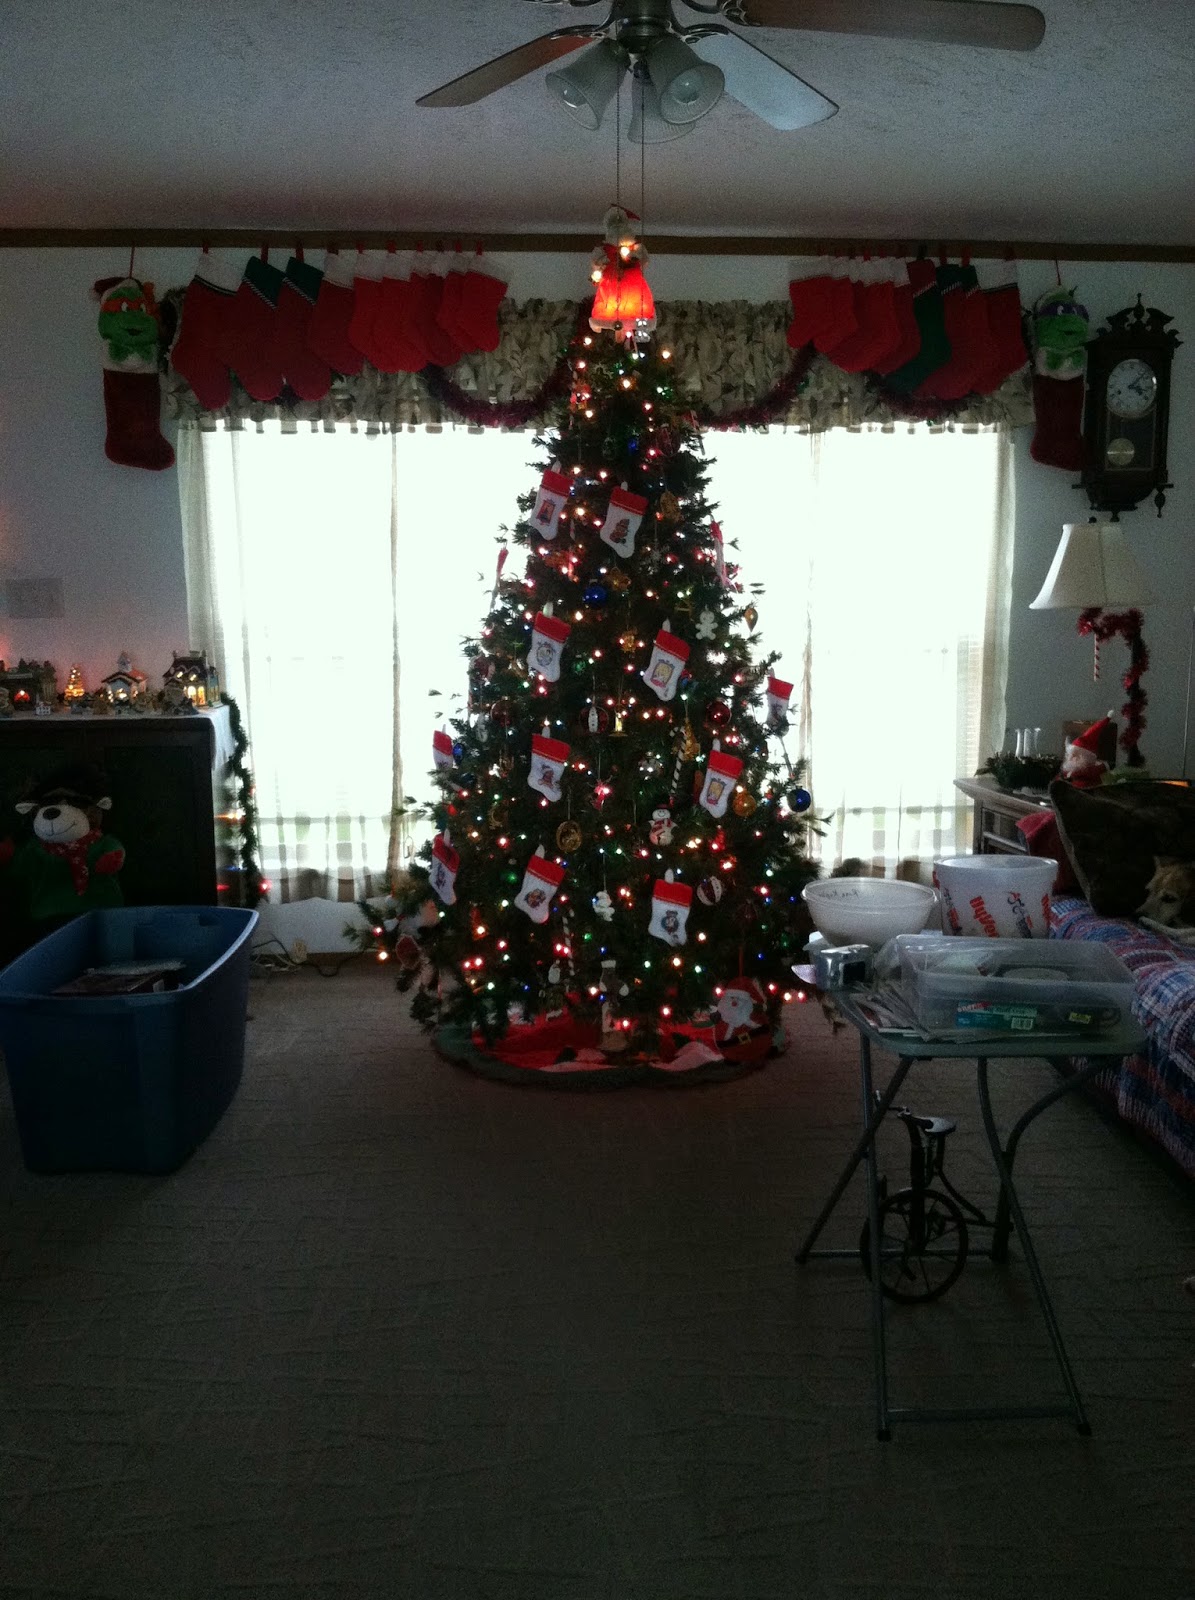
All about Christmas!
This post is a little late…Oops! But I couldn’t help but post.
Clearly I have a love of Christmas, or at least Christmas trees! I’m sorry the 3rd picture is not the greatest quality, the first two pictures are both of my grandmother’s. and of course I had to throw in the pictures of the doggies ;). The first one is my grandma’s beagle, second is my parents golden retriever jealous that I was giving the tree attention and not her! And the third picture is of my little baby sporting the adorable antlers we got from pet smart!
I will have to post some pictures of the process of decorating this year!
My husband and I just relocated from Iowa to Florida and sadly all of my decorations are still in Iowa…hopefully I will get to bring home a few when we go back for thanksgiving!  Otherwise  I will be doing  major shopping spree for new decorations ;).

Thursday, November 21, 2013

Christmas Ornaments


How many of you are so excited for Christmas this year??
I know I am, it is by far my favorite time of the year.
I love doing homemade gifts for all of my family so I decided to make ornaments for my mom this year.

What you'll need:
Clear ornaments (I got mine from Hobby Lobby for 1/2 off!)
Acrylic Paint
Water
Acrylic paint in a squeeze bottle

Directions:
I put probably 1/2 - 1 teaspoon of paint in and 1/3 of water.
Hold a a paper towel over the opening and shake it until its covering everything
Put the lid back on
Use the squeeze bottle and write the persons name and date of the year
Let dry and your good to go!

The other ones in the picture are easy too!

The snowman ones I put the snow that you use for the Christmas villages in them, drew a eyes, carrot, and mouth on with sharpies and I was done!

The snowflake one I put the snow in and drew on snowflakes with a silver sharpie.

The 3rd in the top right corner of ornament holder I took our wedding program (only two years late) cut it in thin strips, use scissors to make spirals like you do with ribbon, put them in the ornament and that's it.